How to add an INinbox subscriber form to your website
INinbox is an email marketing tool that you can use to send email newsletters to your clients, leads, or website visitors. In this tutorial, we'll show you how to add an INinbox subscriber form to your Jimdo site so that your website visitors can sign up to receive your email newsletters.
If you haven't already signed up for INinbox, you'll first need to sign up for a free account.
Follow the steps below to add a subscriber form to your Jimdo website.
Step 1: Create a subscriber form
You can create a subscriber form by logging in to your INinbox account and following these steps:
- Click on My lists.
- Click on Manage webforms.
- Click on Create a new webform.
- Use the webform wizard to design your new webform. You can read more about the webform wizard on INinbox's website.

Step 2: Get an embed code for your form
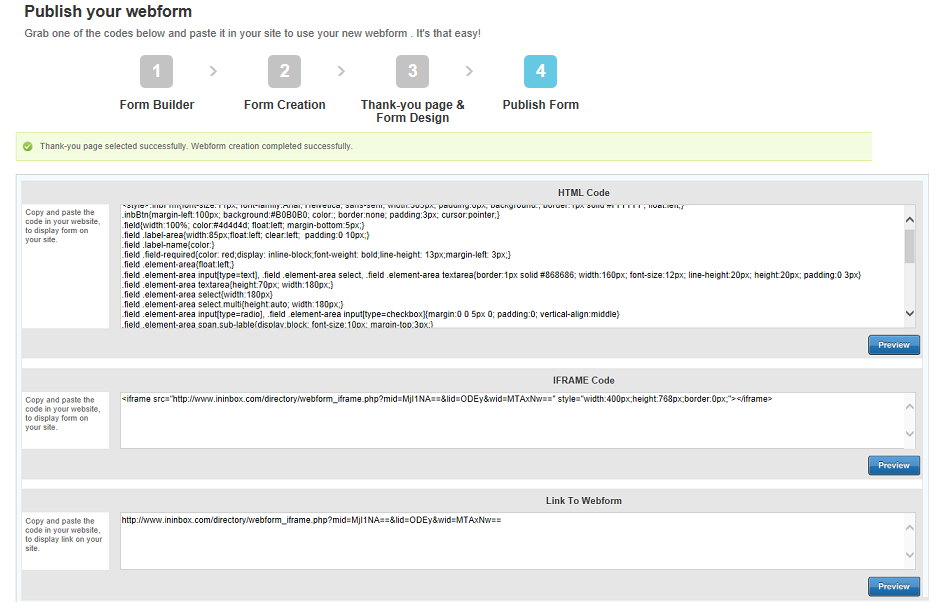
After you finish designing your form with the wizard, you'll be taken to the final step, where you'll need to choose how you'd like to present your form. There are three choices:
- HTML: Use a short snippet of code to place a styled version of your form directly on your Jimdo page.
- Iframe: Similar to HTML, but any style changes you make will need to be done through your INinbox account.
- Link: This will simply provide you a link to the form, hosted on INinbox's website. In this case, you would not embed the form on your actual website, but simply provide your visitors will a link to sign up for your newsletter.
Once you make your choice, copy the corresponding code and proceed to Step 3.
Step 3: Embed the form on your website
Paste the code from Step 3 into a new Widget / HTML element, then Save your changes. If your widget doesn't appear immediately, scroll down to the bottom of the page and click View.