Using Google G Suite with Your Jimdo Webmail
Google G Suite Basic is a popular email service for anyone wanting to use the Gmail interface for their professional email accounts. With Google G Suite Basic you can create additional email accounts under your top level domain name as a Pro, Business or Platinum user (e.g. example@yourdomain.com). While G Suite isn’t included as part of a Jimdo subscription, you can find out more about their pricing structure and how to sign up on their website here.
Setting up Google G Suite Basic with your Jimdo Email consists of three steps:
Creating your Google G Suite Basic account
Step 1: Select a Package
If you are a Pro, Business or Platinum user and have already set up your own domain name, simply visit the Google G Suite website and choose an appropriate package (in this example we use the paid Google G Suite Business package).
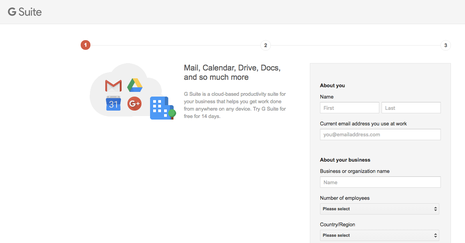
Enter your domain name in the first step and then complete the required information in the appropriate text boxes.
Once you confirm your input, your Google G Suite Basic account will then be created. Continue the setup wizard on the Google website.
Google G Suite Basic is not only inclusive of additional
email accounts, but also offers co-managed calendars for your team and the web-based office programs Google Docs and Google Drive.
Verifying your Jimdo website
Once you have successfully signed up for Google G Suite Basic, you’ll then need to verify your domain name to confirm that you are the owner. This can easily be done by adding a line of code to the Head section your Jimdo site and changing your domain settings. We’ll explain how below:
A tutorial on setting up an account with Google G Suite Basic for work can also be found on Google's website here.
Step 1: Start activation
- First sign into your Google G Suite account and choose the Dashboard button from the first level of navigation.
- Then click the Activate Google G Suite button with the inscription.
Step 2: Find and copy the code
- Choose the tab titled Alternate methods and then activate the sub-item HTML tag
- Once the checkbox is activated, a line of code appears that you have to copy in the header your Jimdo website.
- Highlight this line and copy it to your clipboard.
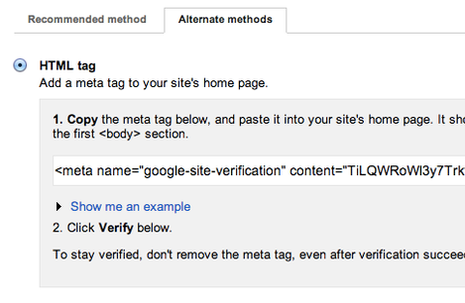
The correct code should look a little something (but not exactly the same) as this:
<meta name="google-site-verification" content="xyz123abc456"/>
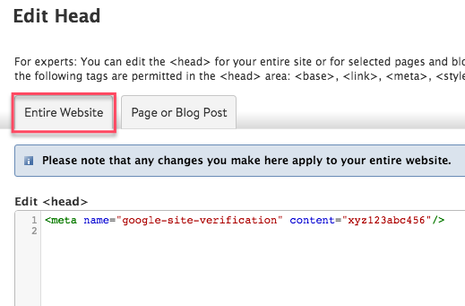
Step 3: Paste code into your Jimdo website
- Log into your Jimdo website, go to your Site Admin, and choose Settings > Website > Edit Head.
- Paste the line of copied code in the text box on the tab that is entitled ‘Entire Website’ and click Save at the bottom of the page.
Step 4: Enable Google G Suite Basic
Time to switch back to your Google G Suite Basic account and finalize the verification process by clicking on the red Confirm button located below the line of code that you copied in Step 2.
If you have followed all the steps of this tutorial correctly, a line of text should now appear confirming the verification of your domain.
Congratulations. You have now successfully verified your Jimdo website with Google G Suite!
Customize your Jimdo website to use Google G Suite
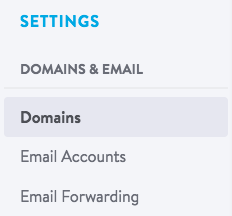
Almost there! Now return to your Jimdo Site Editor and go to Settings > Domains & Email > Domains. This opens an overview of the domains that are linked to your Jimdo website.
Click on the domain name that you'd like to configure which will then expand with more options.
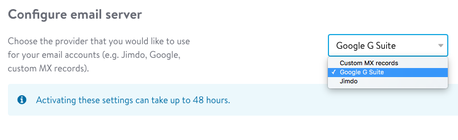
You can then select the drop-down menu next to the Configure email server heading to set the email servers for your domain.
By default, Jimdo will be selected. Select the Google G Suite box instead, then click on Save at the bottom of the menu.
Voila! Your email address is now working with Google G Suite Basic!
To access your email account, you’ll now log in on the Gmail website. You can also connect your email accounts with a mail client such as Outlook, Apple Mail, Thunderbird or Entourage. You can read more about how to do this on the Google Help Center.